
This page shows how to install ProM 6. First, the download section shows where to download ProM 6 and which files the download contains. Second, The first-steps section shows you which steps to take first. These steps ensure that you will have the proper collection of plug-ins installed in ProM 6, and should be performed before you start ProM 6. Last, the troubleshooting section shows you some details on the plug-in installation that might help you fixing possible problems.
Download
You can download ProM 6 from www.promtools.org or through www.processmining.org using the following steps:
- Visit www.processmining.org.
- In the menu of the “Tools” section, select the “ProM” link. This will open the “ProM” page.
- In the menu, select the “Downloads” link. This will open the “ProM Downloads” page.
- Select the “Download ProM 6” link, and save the corresponding zip archive to a file on your local drive.
After having downloaded the tar.gz archive, you can extract its contents into some folder on your local drive. The following files will be extracted:
- ProM6x.bat
A Windows batch file that starts ProM 6.x and that can be used to tailor the Java VM to your personal wishes. - ProM6x.exe
A Windows executable that starts ProM 6.x, provided that ProM 6.x or ProM 6.x Package Manager are not already running. - ProM6x.jar
The runnable jar file that contains both ProM 6.x and ProM 6.x Package Manager. In the end, the corresponding batch files and executables rely on this jar file. - ProM6x.sh
A Linux/Mac shell script that starts ProM 6.x and that can be used to tailor the Java VM to your personal wishes. - ProM6xPM.bat
A Windows batch file that starts ProM 6 Package Manager and that can be used to tailor the Java VM to your personal wishes. - ProM6xPM.exe
A Windows executable that starts ProM 6.x Package Manager, provided that ProM 6.x or ProM 6.x Package Manager are not already running. - ProM6xPM.sh
A Linux/Mac shell script that starts ProM 6.x Package Manager and that can be used to tailor the Java VM to your personal wishes. - XESame1x.bat
A Windows batch file that starts XESame 1.x and that can be used to create similar Linux shell scripts, or that can be used to tailor the Java VM to your personal wishes. - XESame1x.exe
A Windows executable that starts XESame 1.x, provided that XE Same 1.x is not already running. - XESame1x.jar
The runnable jar file that contains XESame 1.x. In the end, the corresponding batch files and executables rely on this jar file.
For Linux and Mac users: Before running the scripts, you (may) have to make them executable (for example, through the commands “chmod u+x ProM6x.sh” and “chmod u+x ProM6xPM.sh”.
If using a Windows platform, you can download the Windows installer, which will copy the required files to the proper folder, and will add three shortcuts in a ProM 6.x Start menu folder: ProM 6.x, Package Manager, and XESame 1.x. Selecting one of these shortcuts will run the appropriate tool
First steps
Completing the installation
After having installed ProM 6.x, you need to install a number of additional ProM 6.x packages. In ProM 6.x, a lot of functionality has been implemented in these additional packages, and this has been done for three reasons: License issues ProM 6.x is available under the L-GPL license, which is an OpenSource license that is incompatible with some other OpenSource licenses, like for example the CPL license. These licenses forbid us to distribute ProM 6.x if it includes any part that uses an incompatible license. As an example, take the Decision Point analysis plug-in that was available for ProM 5.2 (and some earlier versions). As this plug-in used an L-GPL licensed library, and as ProM 5.2 used the CPL license, we were not able to distribute the plug-in together with ProM 5.2. However, these licenses do not forbid you (as the end-user) to install both the Decision Point analysis plug-in and ProM 5.2 on your local machine, they only forbid us (and you) to distribute them together. For this reason, we decided to separate many of the plug-ins from the ProM 6.x core, as it allows us to distribute ProM 6.x and the plug-ins as separate entities. Download size Some of the plug-ins are platform dependent, and different versions of these plug-ins exist for different platforms. By using a separate package for these plug-ins, you need only to download the version of the plug-in that agrees with your computer (ProM 6.x Package Manager will take care of this). As a result, you need to download less. Unused plug-ins Some of the plug-ins might not be relevant for you. By using a separate package, you can simply remove these plug-ins by removing (or not installing) the corresponding package. As a result, these plug-ins will not show in your versions of ProM 6.x.
To install these packages, you need to run ProM 6.x or the Package Manager. ProM 6.x will install the required plug-ins on its maiden run. When run for the first time, ProM 6.x will call the Package Manager, and will have it install the required packages. Of course, you do need an internet connection for this, so make sure you have an internet connection when running ProM 6.x for the first time. After the Package Manager has installed the required packages (which may take some time), ProM 6.x will continue. As a result, there is no need to run the Package Manager, except for when one wants to update some packages.
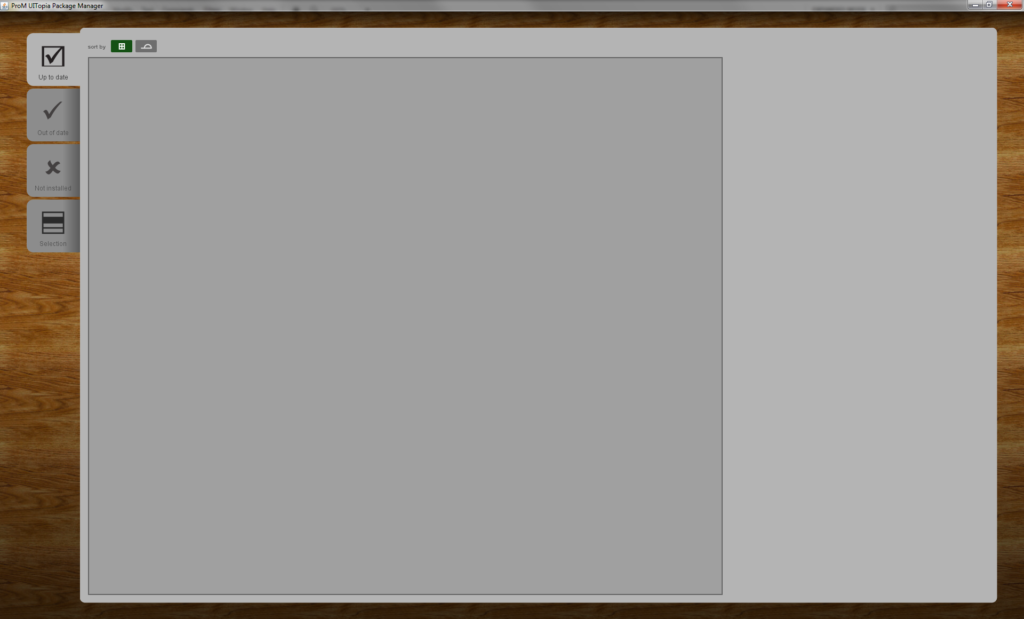
Alternatively, you may run the Package Manager yourself. The figure above shows what ProM 6.x Package Manager looks like when it is run for the first time. As this figure shows, initially no additional packages have been installed. You should now install these additional ProM 6.x packages, and for this you need to take the following steps:
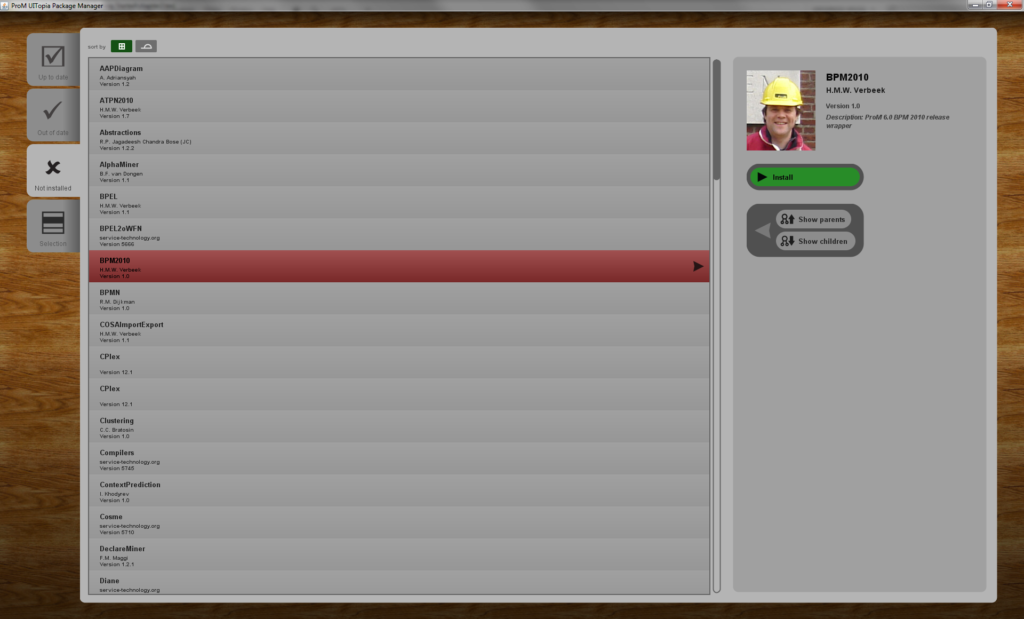
- Select the “Not installed” tab (if not preselected).
- Select the master package (6.0: “BPM2010”, 6.1-2: “AllPackages”, 6.3-4: “EstablishedPackages”, 6.4.1: “RunnerUpPackages”) package (if not preselected).
- Select the “Install” button (as shown in the figure below).
ProM 6.x Package Manager will now install the master package and all the packages it depends on. As the master package depends on all other required additional ProM 6.x packages, after having installed this package, all these packages will be installed. If you now return to the “Up to date” tab, you will see that a lot of packages have now been installed. Your installation of ProM 6.x is now complete, and, you can close ProM 6.x Package Manager.
Issues when completing the installation
The packages that are being installed may depend on the actual operating system (Windows, Linux, Mac OS X) and the actual version of Java (32 bit, 64 bit) you’re using. If both the operating system and Java are 64-bit-enabled, then 64-bit versions will be downloaded, otherwise 32-bit versions will be downloaded. ![]() If you decide to change from a 32-bit version of Java to a 64-bit version of Java (or vice versa), then you need to install these packages again. If you make such a change, it is best to first remove all packages, and then install all again, just to be sure.
If you decide to change from a 32-bit version of Java to a 64-bit version of Java (or vice versa), then you need to install these packages again. If you make such a change, it is best to first remove all packages, and then install all again, just to be sure.
It is possible that the .exe versions of ProM and the Package Manager (only available in a release) use a different version of Java as the .bat versions do. It is possible that the .bat version of ProM use a 32-bit version of Java, whereas the .exe version use a 64-bit version. If needed, please edit the .bat file such that it uses the same (or at least a compatible) version of Java as the .exe version uses.
The first run of ProM
Now that everything has been installed, it is time to start ProM for the first time. We strongly advice you to start ProM for the first time on a Windows machine using the batch file provided (ProM6x.bat).
The first time ProM starts, it will check all installed jar files for plug-ins. Apart from taking some time, this also takes some specific memory (known as PermGenSpace in Java) as ProM needs to load all jar files into memory. The Batch file contains an extra setting to increase the size of this PermGenSpace memory in the Java VM (-XX:MaxPermSize=256m).
As a result of this checking jar files for plug-ins, ProM will build a cache such that it remembers which jar files contain plug-ins, and which do not. As a result, the next time ProM starts, it only need to load a limited number of jar files. On Windows machines, this cache is stored in the registry, in the
Computer\HKEY_CURRENT_USER\Software\JavaSoft\Prefs\org\processmining\framework\plugin\impl
folder. By manually removing this folder, the cache is removed, which causes ProM to rebuild the entire cache the next time it starts. Again, in such a situation, we strongly advice you to start ProM then from the batch file.
Next runs of ProM
Once the cache has been successfully created, you can start ProM from the Start Menu, or by double clicking the ProM6x.exe file. Please note that this way of starting ProM does not increase the size of PermGenSpace memory.
Troubleshooting
Packages
The ProM 6 Package Manager stores all installed additional packages into a folder on your local hard drive. This folder is named “.ProM6x” and is located in your user folder. On Windows 7, your user folder would be located in the
"C:\Users\<your user name>"
folder. The “packages.xml” file in this folder contains your local package repository, which is basically a collection of available packages. Furthermore, this file also contains information on which packages actually have been installed. The “packages” folder in this folder contains the installed packages.
In case you experience any problems with your installed packages, then you might want to remove both the “packages.xml” file and the “packages” folder from the “.ProM” folder manually. Basically, this provides you with a clean sheet. After this, you can run ProM 6 Package Manager again and (re-)install the master package.
Plug-ins
If you feel that some plug-ins are missing from ProM that should be there, a likely cause is that the creation of the cache as mentioned above has failed at some point. As a result, jar files that do contain plug-ins may be listed as jar files that do not contain plug-ins. The plug-ins contained in these jar files may be missing in ProM.
To get around this, please remove (or empty) the following impl folder in the Registry:
Computer\HKEY_CURRENT_USER\Software\JavaSoft\Prefs\org\processmining\framework\plugin\impl
Then start ProM with the batch file provided (ProM6x.bat), as mentioned above.
Workspace
The “.ProM6x” folder contains another file: “UITopiapersistence.xml.gz.wsp”. This file contains the workspace of the last ProM 6.x that terminated normally. When you start ProM 6.x, it will read this file and restore your workspace to the workspace of the former ProM 6.x session, which includes, for example, resources like event logs and Petri nets.
In case you experience problems with this former workspace, you may want to remove the “UITopiapersistence.xml.gz.wsp” file manually.
In case you do not want ProM 6.3+ to save and load the workspace, add the following line to the “ProM.ini” file of your ProM installation:
DO_SERIALIZATION = false